Introduction to Microsoft Word

Closing a Document
Many ways to close a document in Microsoft Word.
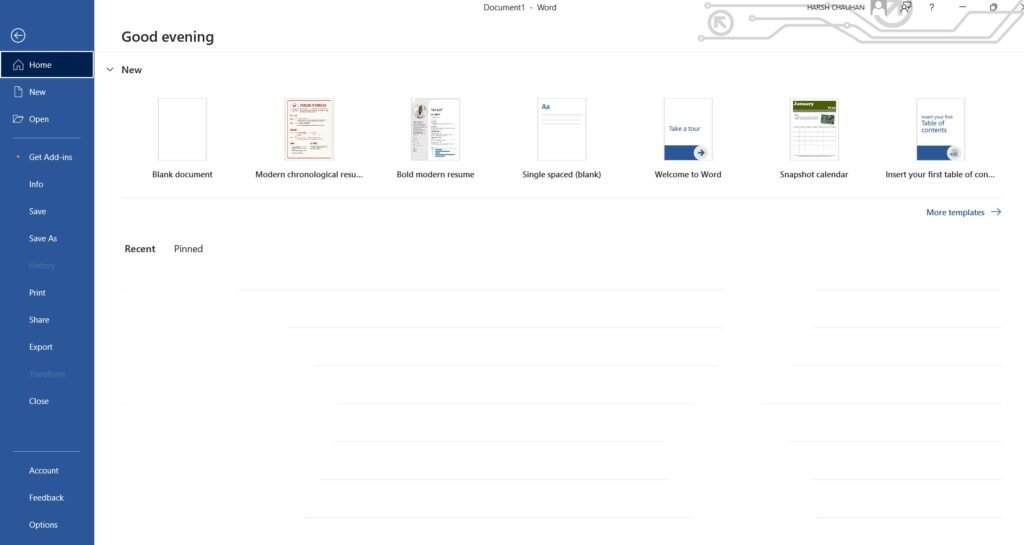
Most of the methods used to close a document, however, involve saving the document first. That said, if you haven’t made any changes to a document – or you simply don’t want to save it, you can simply close a document by going to File>Close.
You will see a dialogue box that reminds you that any changes you’ve made to the document have not been saved.
- Click the Save button to save your document. This will save your file under its current file name and at its current location.
- If you don’t want to save the changes – or the document if it hasn’t yet been saved, click the Don’t Save button.
-
Click the Cancel button if you’ve changed your mind, and you don’t want to close the document.
Saving a Document
you’ve created a new document and wish to save it to your computer to use again later.
Click File, then choose either Save or Save As on the left.
-
. Saving a file for the first time
When you save a new file (a document, spreadsheet etc.) for the first time, SAVE and SAVE AS do exactly the same thing.
The keyboard shortcut to save a file is Ctrl + S.
2. Saving a file for the second time onwards
If you make changes to a file that has already been saved, then SAVE and SAVE AS do different things.
Most times, SAVE is the easiest option because then you only have one file to worry about.
3. Reasons for using SAVE AS
There are 2 main reasons you would choose SAVE AS.
How to use SAVE AS to clone an existing file:
1. Open the original file.
2. Click the File tab (File menu on Mac) and choose SAVE AS.
3. Type your new file name and choose a location (Desktop folder, Documents folder etc.)
4. Click OK.
You are now working on the new file. Whenever you are ready to save, simply press Ctrl + S or click the File tab and choose Save.
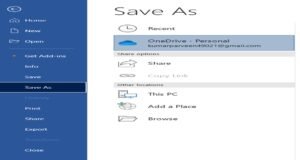
Click File, then choose Save As on the left.
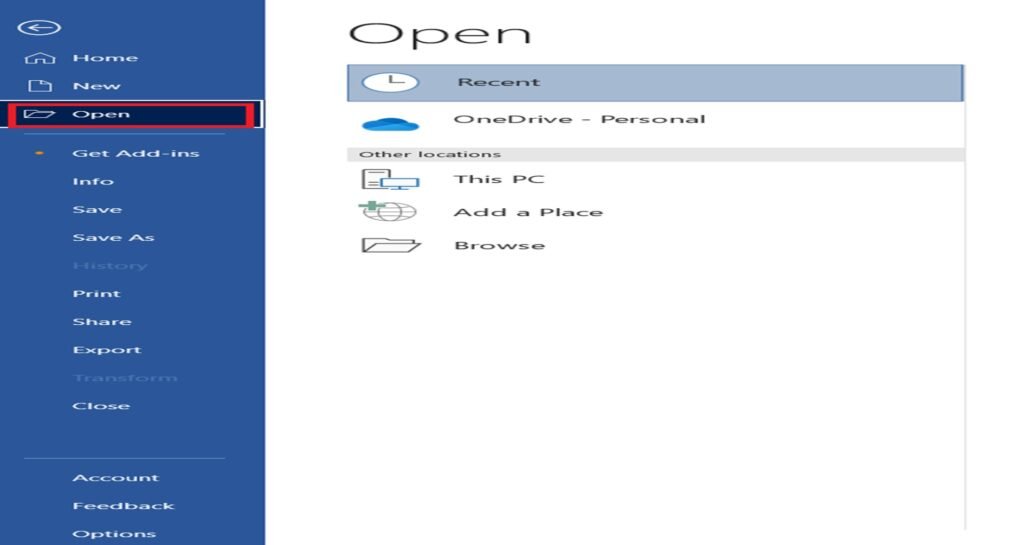
In the “Save As” column, choose where you want to save the document. You can save it to your OneDrive, which is your cloud storage. In addition, you can save it to other web locations, This PC – which is your computer — or you can add a location by clicking “Add a Place”.
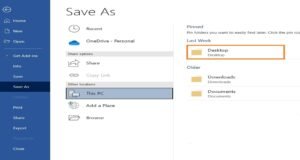
Let’s click on This PC.
Choose the location on your computer where you want to save the file. You can also click Browse to find a location. We’re going to choose Desktop.
Enter a name for the file in the File Name text field, as shown below.

In the Save as Type field, choose the format in which you want to save the document.

-
Understanding the Ribbon and Tabs.
The basic tabs in the MS Word Ribbon

- Home:- The Home tab is the default tab in Microsoft Word. It has five groups of related commands; Clipboard, Font, Paragraph, Styles and Editing.
- Insert:-As the name suggests, it is used to insert or add extra features in your document. It is commonly used to add tables, pictures, clip art, shapes, page number, etc.
- Draw:- The Draw Tab is a feature in Microsoft Office that can help you to add notes, create shapes, edit text, and much more. On the Draw Tab default menu, there are four sections. These sections are Drawing Tools, Convert, Insert, Replay, and Close.
- Design:- The Design tab allows the user to adjust the organization and visual structure, of the document. The first option to change in the upper left-hand corner of the tab is a Design Theme.
- Layout:-This tab allows you to control the look and feel of your document, i.e. you can change the page size, margins, line spacing, indentation, documentation orientation, etc.
- References:-It is the fourth tab in the Ribbon. It allows you to enter document sources, citations, bibliography commands, etc. It also offers commands to create a table of contents, an index, table of contents and table of authorities.
- Mailings:- It is the least-often used tab of all the tabs available in the Ribbon. It allows you merge emails, writing and inserting different fields, preview results and convert a file into a PDF format.
- Review:- This tab offers you some important commands to modify your document. It helps you proofread your content, to add or remove comments, track changes, etc.
- View:-The View tab is located next to the Review tab. This tab allows you to switch between Single Page and Two Page views. It also enables you to control various layout tools like boundaries, guides, rulers. Its primary purpose is to offers you different ways to view your document.
The Home tab includes the following Groups:
![]()
- Clipboard
- Font
- Paragraph
- Styles
- Voice
- Sensitivity
- Editor
- Add-ins such as Grammarly, ProWritingAid, and Adobe Acrobat will appear in the Home tab if they are installed.
The Insert Tab includes these Groups:
- Pages
- Tables
- Illustrations
- Add-ins
- Media
- Links
- Comments
- Header & Footer
- Text
- Symbols
The Draw tab contains these Groups:
- Tools (normal)
- Pens
- Mode
The Design tab includes these Groups:
- Document Formatting
- Page Background
The Layout tab includes these Groups:
- Page Setup
- Paragraph
- Arrange
The References tab contains these Groups:
- Table of Contents
- Footnotes
- Research
- Citations & Bibliography
- Captions
- Index
- Table of Authorities
The Mailings Tab includes these Groups:
- Create
- Start Mail Merge
- Write & Insert Fields
- Preview Results
- Finish
The Review tab contains these Groups:
- Proofing
- Speech
- Accessibility
- Language
- Comments
- Tracking
- Changes
- Compare
- Protect
- Ink
- Resume
The View tab contains these Groups:
- Views
- Focus
- Dark mode
- Show
- Zoom
- Macros
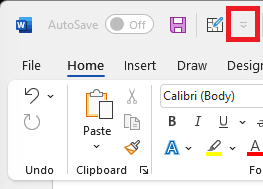
Customizing the Quick Access Toolbar in word
Show or hide the Quick Access Toolbar
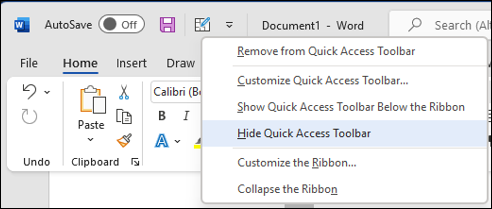
Right-click in the ribbon and do either of the following:
-
If the Quick Access Toolbar is shown, select Hide Quick Access Toolbar.
-
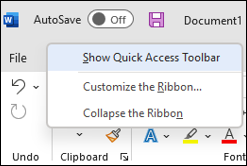
If the Quick Access Toolbar is hidden, select Show Quick Access Toolbar.
Note: You can also hide the Quick Access Toolbar in the Customize Quick Access Toolbar menu by selecting Hide Quick Access Toolbar.
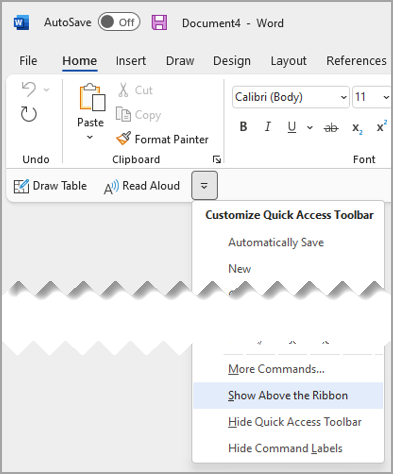
Move the Quick Access Toolbar
Location
The Quick Access Toolbar can be located in one of two places:
-
Above the ribbon, on the title bar (default location)
-
Below the ribbon
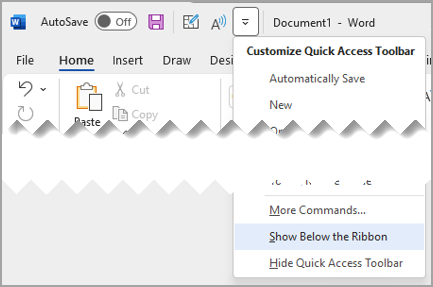
Change the location
You can move the location of the Quick Access Toolbar from one location to another.
-
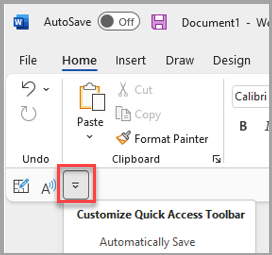
Select Customize Quick Access Toolbar.
-
In the list, select Show Below the Ribbon.
Notes:
-
You can set the location commands in Options.
-
Select File > Options > Quick Access Toolbar>Toolbar Position.
-
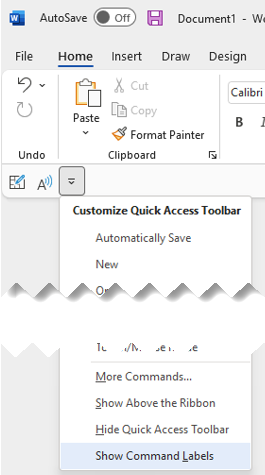
Show or Hide command labels on the Quick Access Toolbar
If the Quick Access Toolbar is set below the ribbon, you can show or hide the command labels.
Important: The Quick Access Toolbar MUST be set below the ribbon to show or hide the command labels.
-
Select Customize Quick Access Toolbar.
-
In the list, select either Show Command Labels

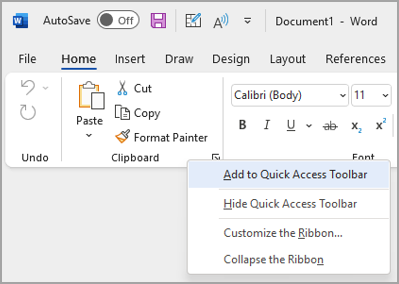
Add a command to the Quick Access Toolbar
-
On the ribbon, select the appropriate tab or group to display the command that you want to add to the Quick Access Toolbar.
-
Right-click the command, and then select Add to Quick Access Toolbar on the shortcut menu.
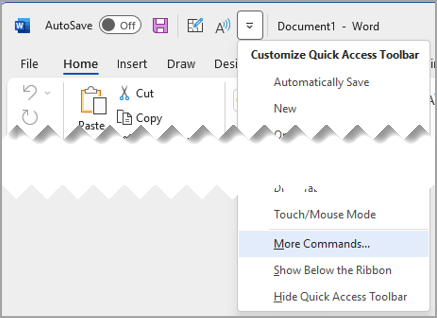
Add a command to the Quick Access Toolbar that isn’t on the ribbon
-
Select Customize Quick Access Toolbar > More Commands.
-
In the Choose commands from list, select Commands Not in the Ribbon.
-
Find the command in the list, and then select Add.
Tip: If you can’t find the command you want on the Commands Not in the Ribbon list, try setting Choose commands from to All commands.
Remove a command from the Quick Access Toolbar
-
Right-click the command you want to remove from the Quick Access Toolbar.
-
Select Remove from Quick Access Toolbar on the shortcut menu.